GTM dataLayer Sifter: Find The Data You Want Easily

Form Tracking: Finding Field Values Using the dataLayer. What’s the Problem?
Anyone who has used Google Tag Manager has at least heard of the GTM dataLayer. The dataLayer has many functions, but one important one is the ability to access any dom element on the page and reveal its value. This can be extremely handy when you want to send data to tracking software like Google Analytics. The difficulty comes in actually finding these values.
Say you wanted to find what a user typed into a field when someone submits your form or clicks somewhere else on a page. Using the dataLayer, you can find any value you want associated with another event; however, you have to go and manually find it.
In the example below, I am trying to find the term “Where’s My Data” within the dataLayer associated with the “Let’s Do This!” click. In order to accomplish this, I need to scour the entire dataLayer, having to search through tons of layers of data pockets and either memorize or write down the path to then create dot notation to use as a custom variable in GTM.
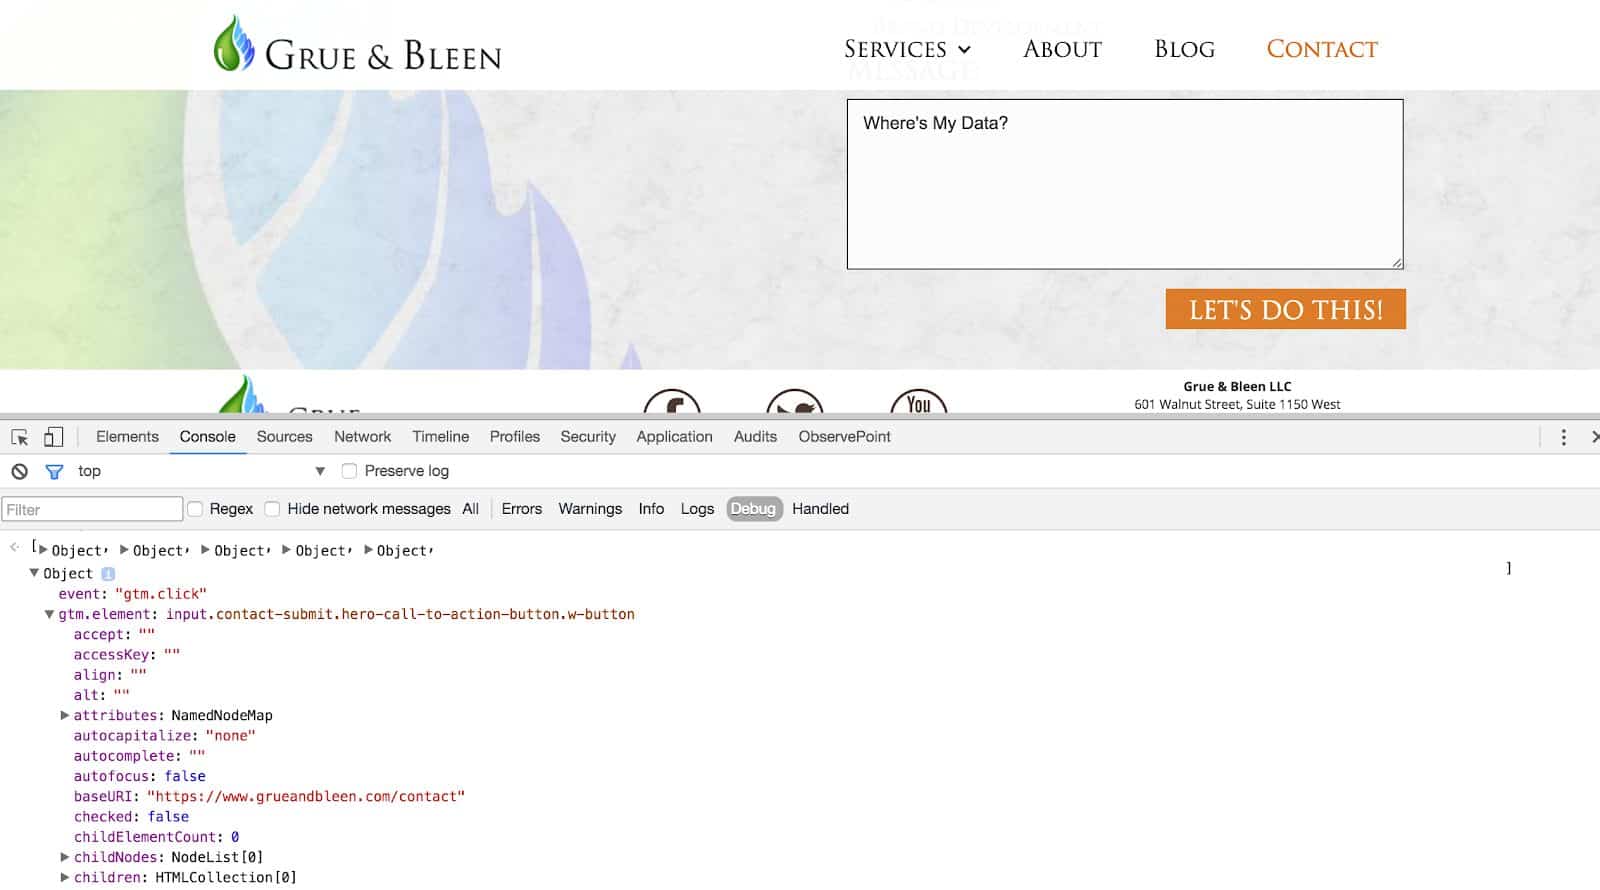
This, as you can imagine, is time consuming, tedious, and annoying! Rather than suffer through this forever, we came up with a solution that saves time and headache. Introducing GTM dataLayer Sifter, a chrome extension that automatically shows the dot notation path from one element to another. Its purpose is to make analyzing content and finding variables within the dataLayer much simpler.
Form Field Value Tracking using GTM dataLayer Sifter
Click Trigger on All Elements
So how does it work? It’s simple. First, download the extension here. The interface is supposed to mirror your GTM preview and debug tool but right from dev tools. Open a page that has GTM on it and perform your auto click event. Make sure that you’ve already enabled an all element click trigger and/or form submit trigger.

Input any text into the field that you’d like to track (you can do this for your own reference). For now we are going to use the term “Where’s My Data.”
Perform Your Click/Form Submit Action
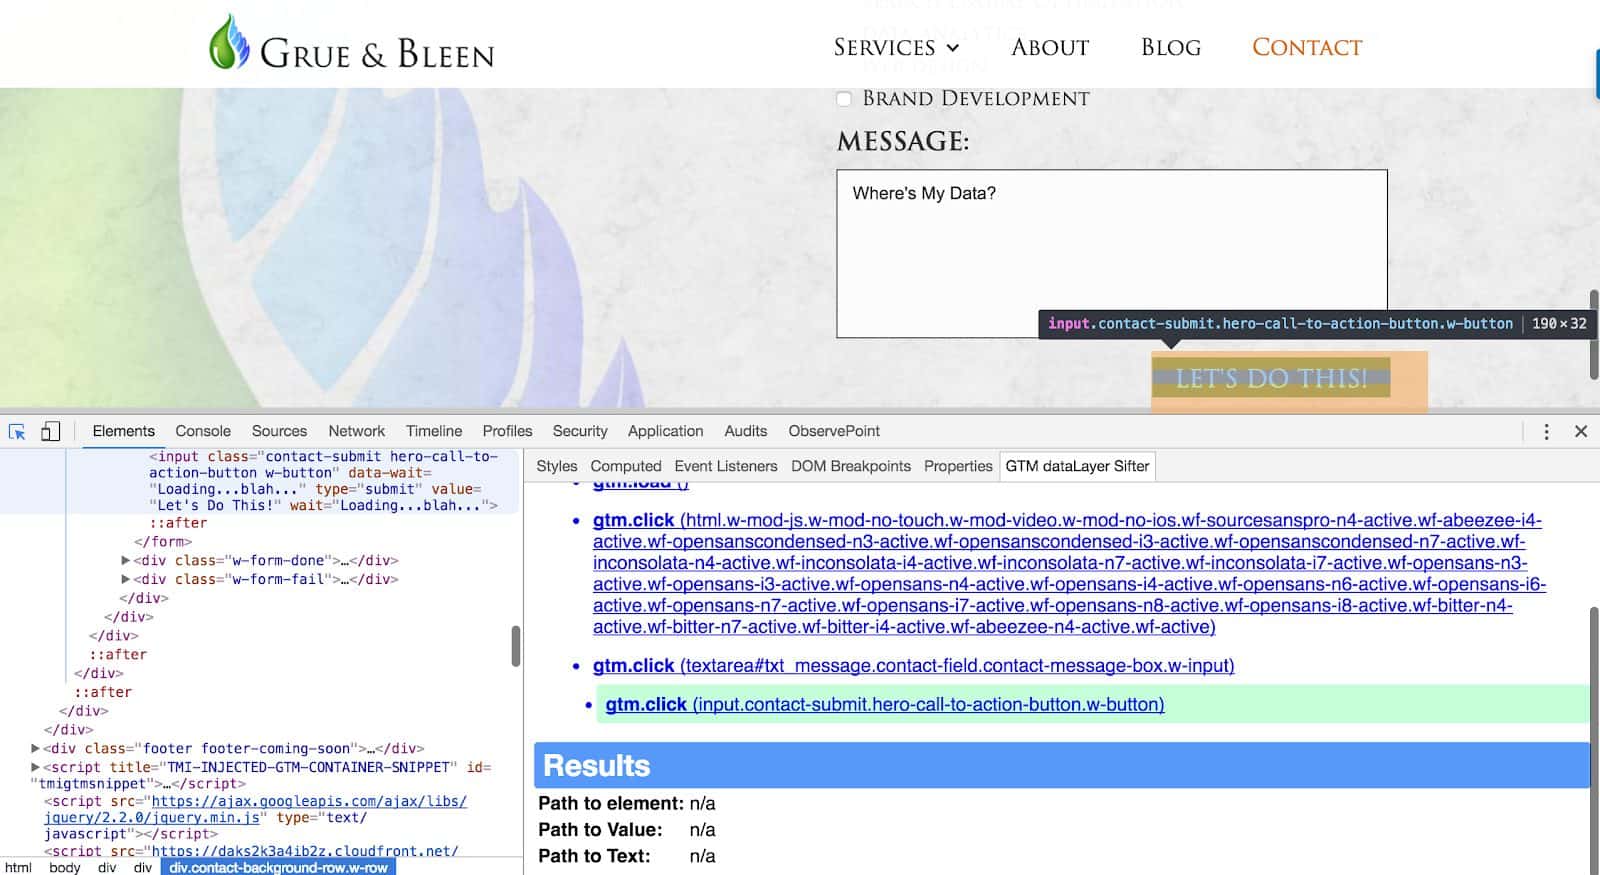
Now you need to actually perform the action for which you desire to track data. If this is a form submission, make sure to try to push the submission to another tab using ctrl or command click. You can also use Simo Ahava’s GTM Sonar to force the click/form submission to stay in the same page, which is handy. Open up Chrome development tools and navigate to your GTM dataLayer sifter. Find the action that you want to use as a trigger. In this example, this would be whenever I click on the “Let’s Do This!” button.
Select the Form Field Value You’d Like to Track
Now that I selected my trigger event, I can select any form field I’d like for which to create a data variable. Use the dev tools select element arrow to select your field value.
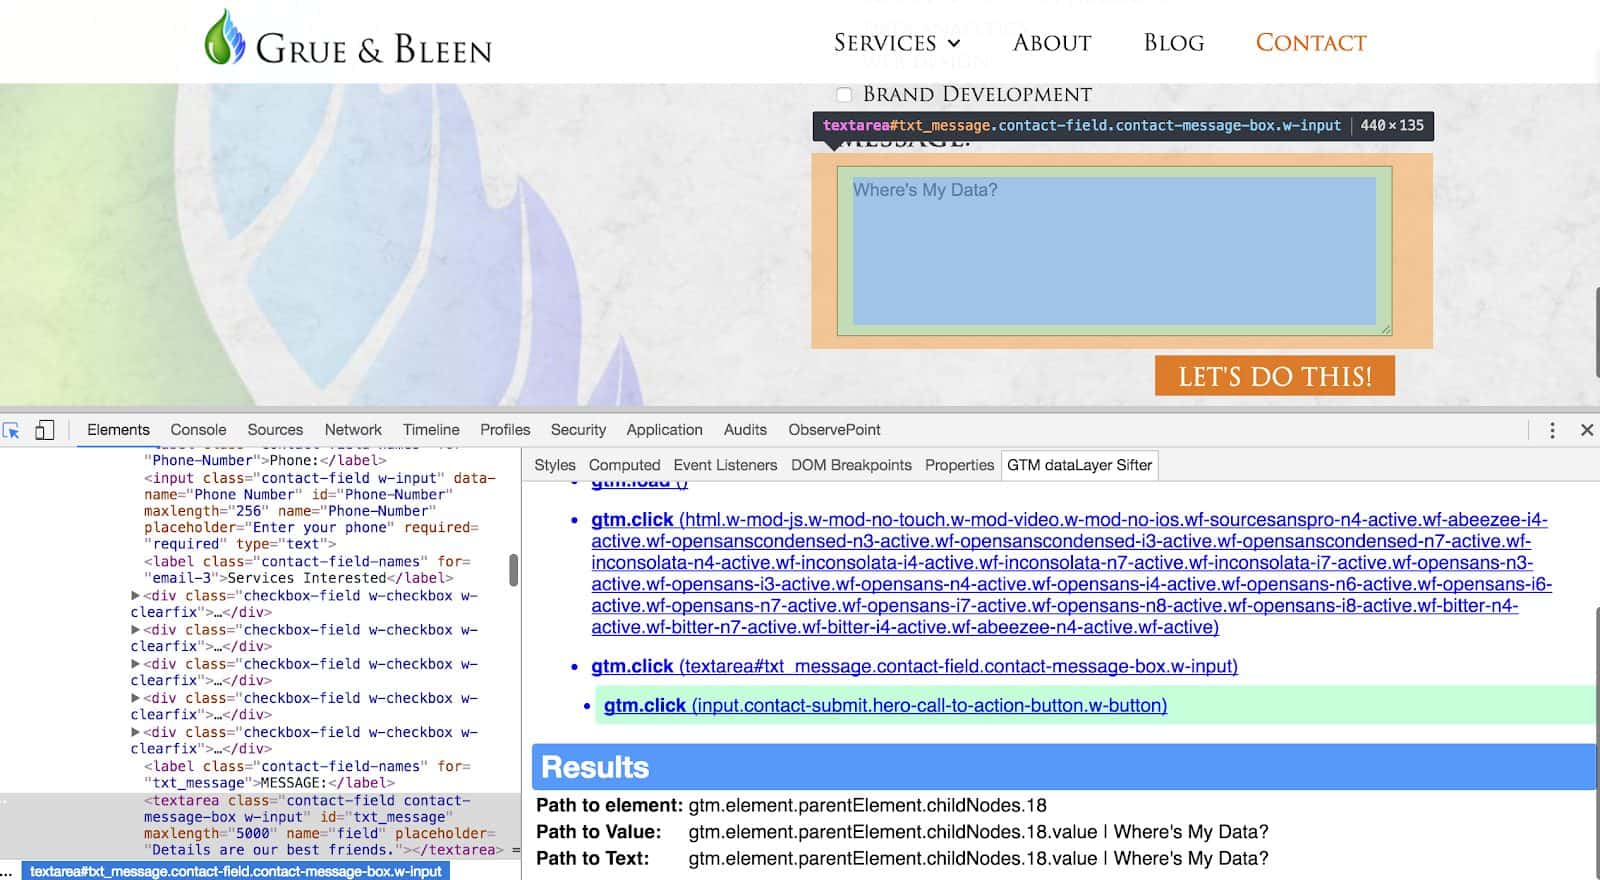
This will reveal 3 different results: the path to the element itself; the path to the value; and the path to the text. Most of the time on a form field the value and the text will be synonymous; however, when tracking dropdowns with GTM dataLayer Sifter, values can differ, perhaps because mapping numbers/values are used or the developer otherwise had set values internally. For this reason, it’s important to have both a path to the value and the path to the text. This path is set up as a dot notation which is what GTM uses to read a path within the dataLayer. Copy this path.
Create a Data Layer Variable
Navigate back to your Google Tag Manager interface and create a new User-Defined variable. Call it whatever you’d like, for now we will call it GTM dataLayer Sifter Variable.
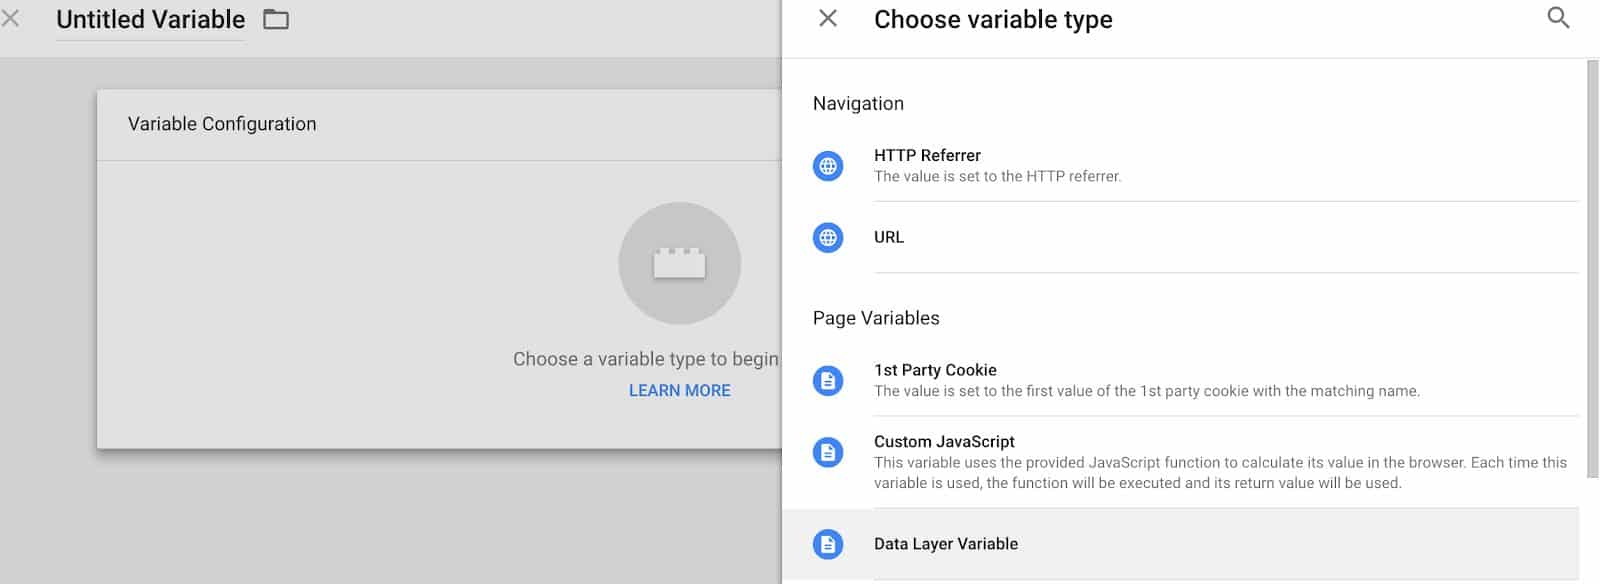
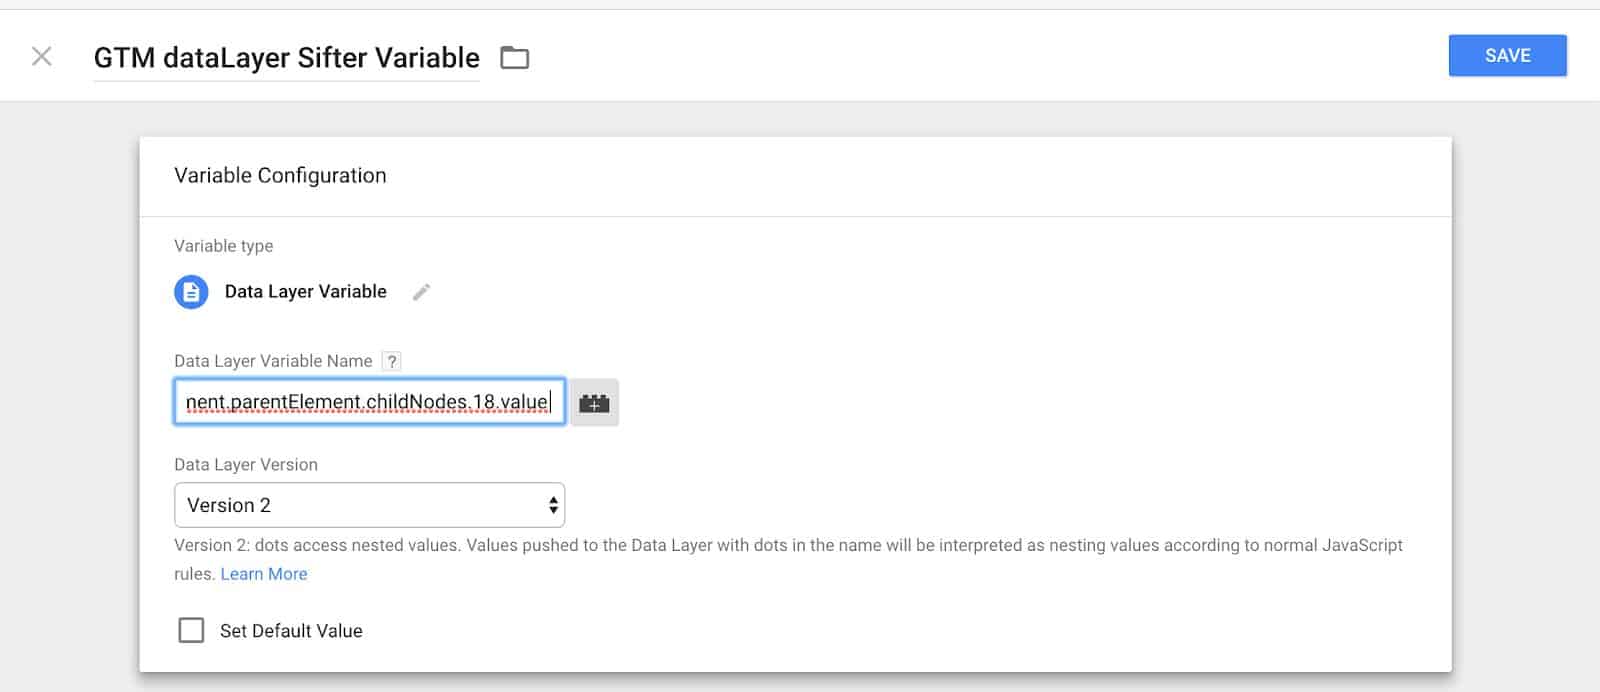
Save the variable.
Preview and Debug: Find Your Variable
To make sure the data is being captured, it’s always a best practice to preview and debug to test the variable. Once you’ve verified that the data is being captured on the specific auto-event you’d like, you can create a trigger.
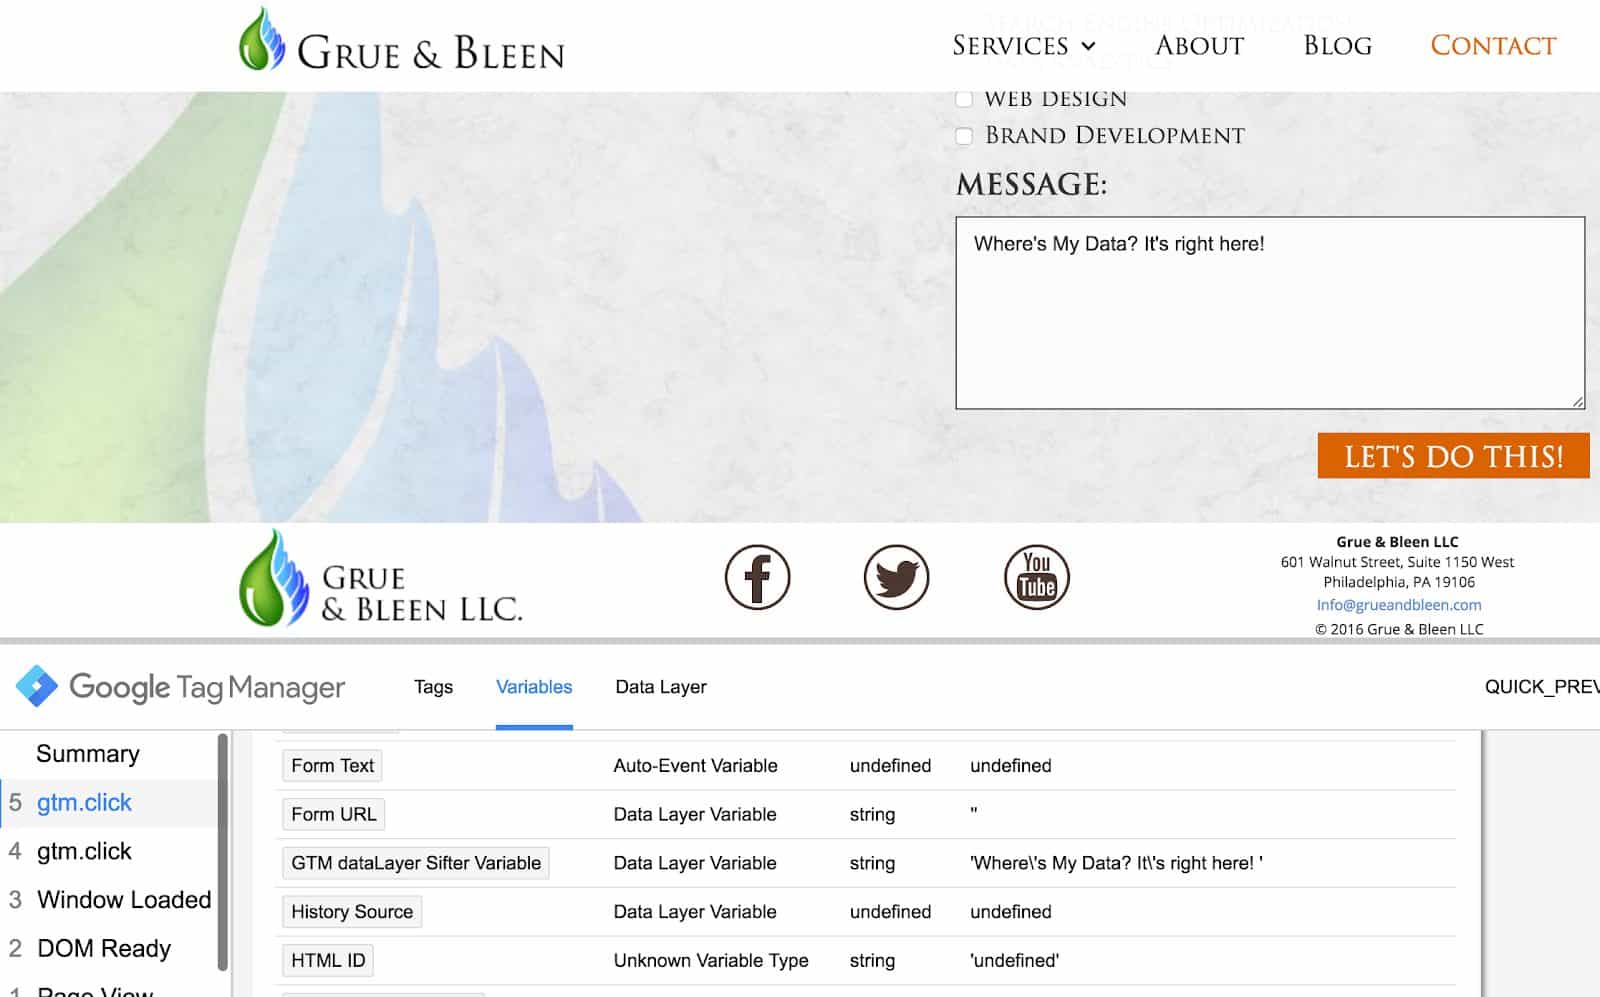
Create your trigger and tag.
I’m going to skip the trigger lesson for now, but if you don’t know how to create click/form submit triggers, Measure School has a great tutorial on it. Once you’ve created your trigger for the event, create your tag. We are going to assume that you are sending this information to Google Analytics, (if you need a refresher on how to implement GA through GTM, check out my comprehensive guide on how to push Google Analytics through Google Tag Manager,) so go and build a GA event tag. I suggest putting your data into the label field, but you can put it anywhere you’d like (if its text, use category, action, or label, and if it’s a number, you can use value).
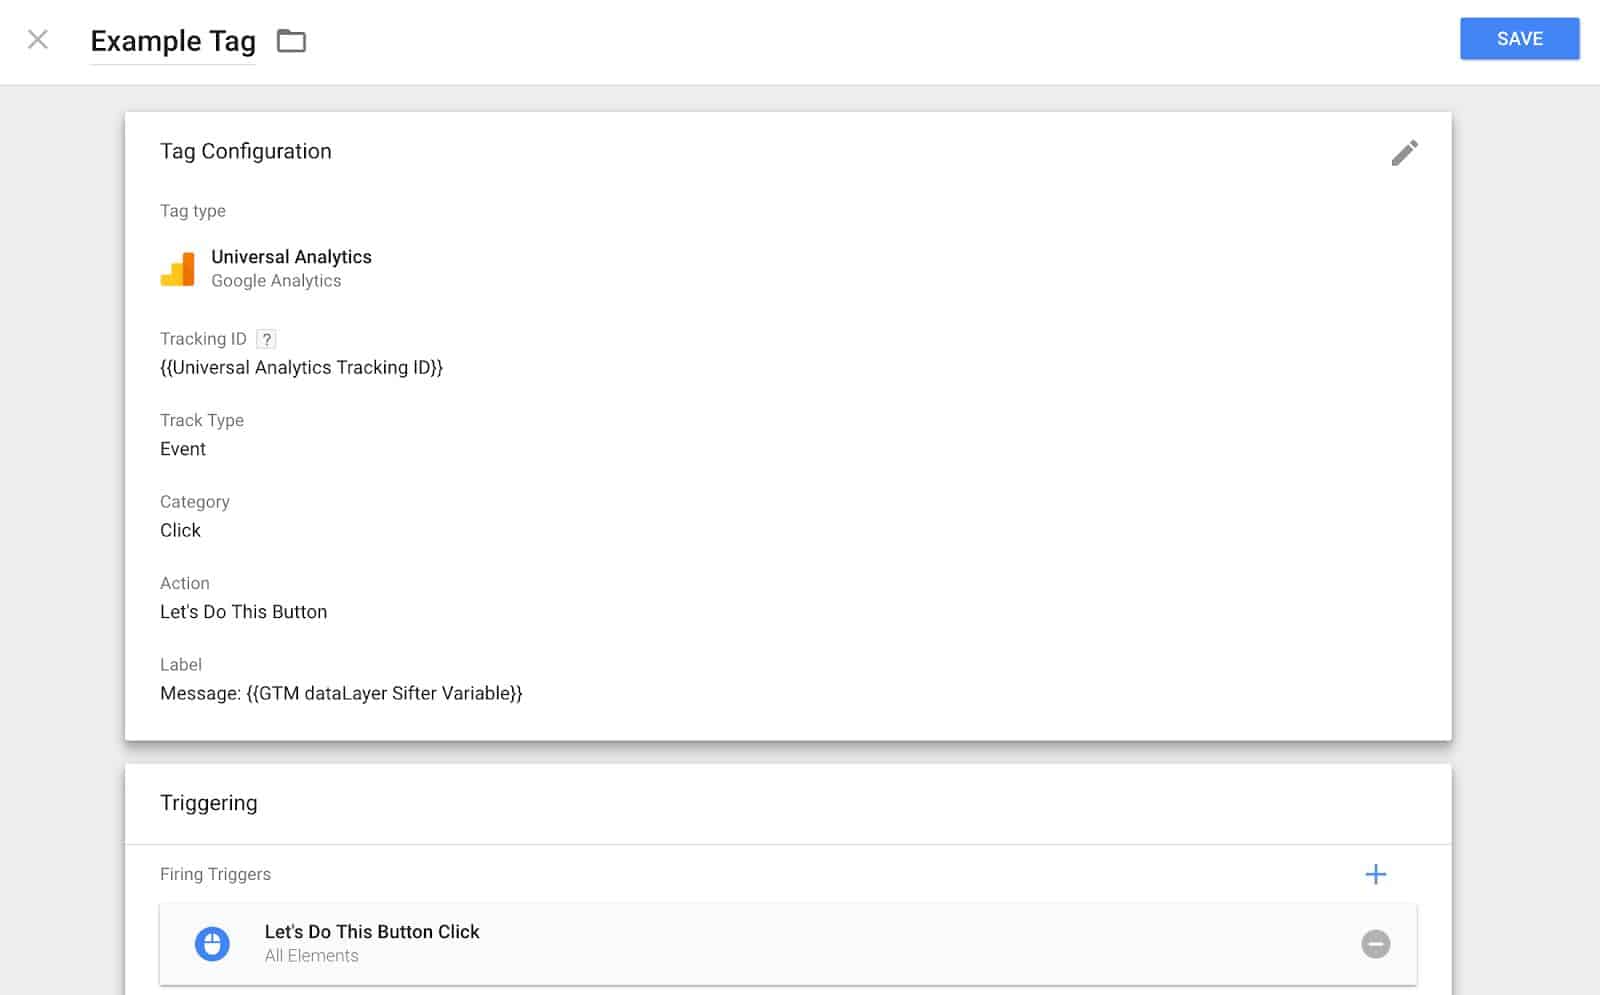
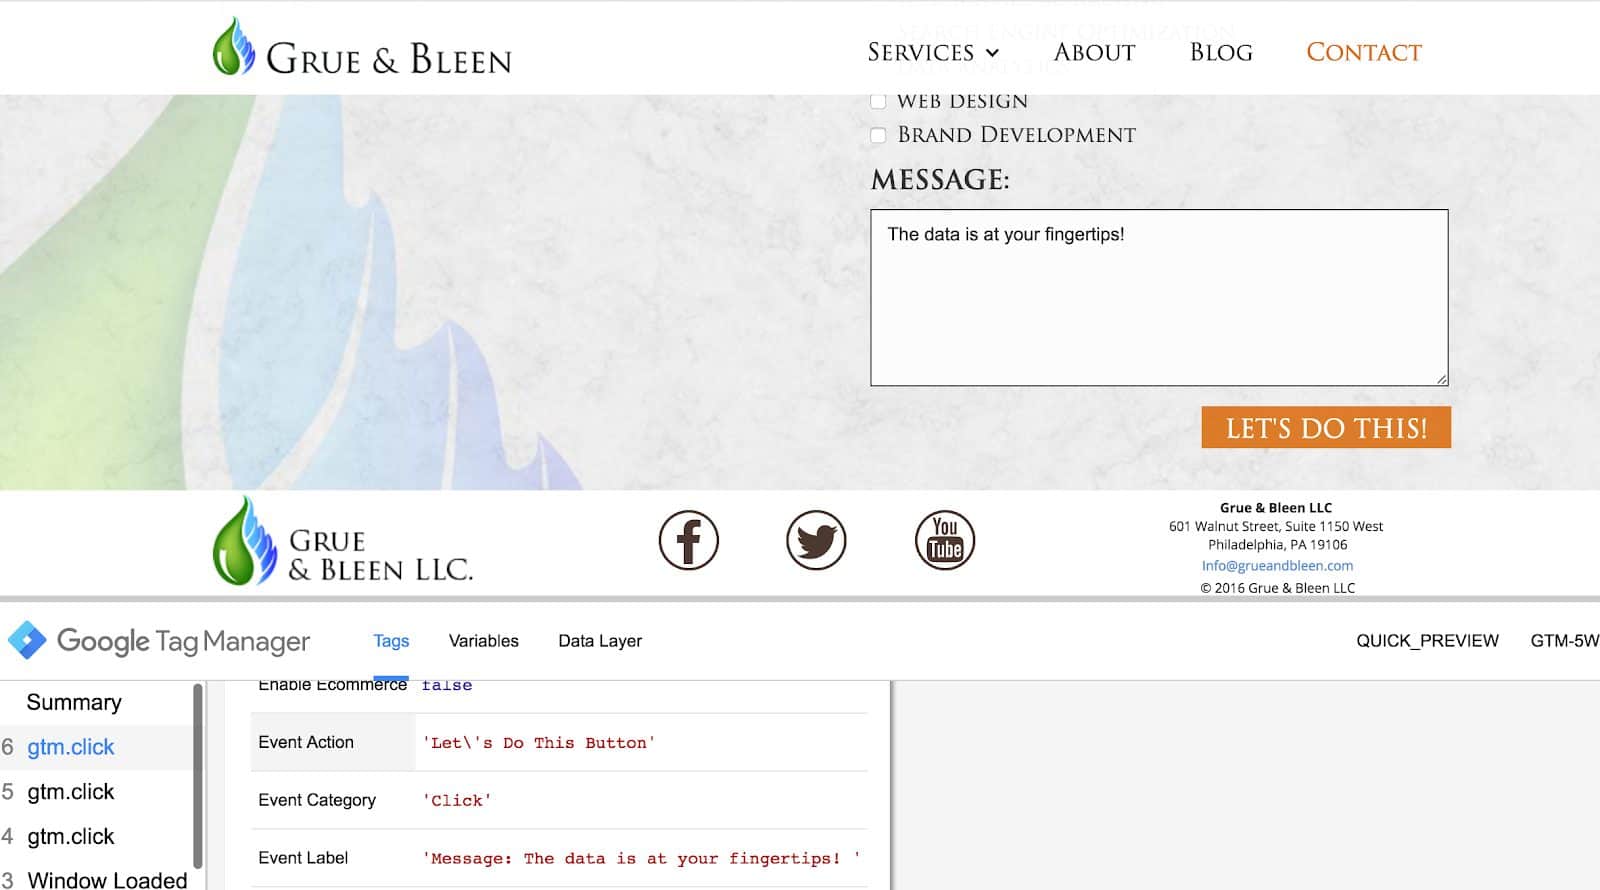
Save your tag and go back to preview and debug mode to make sure your tags are firing correctly. Perform your action:
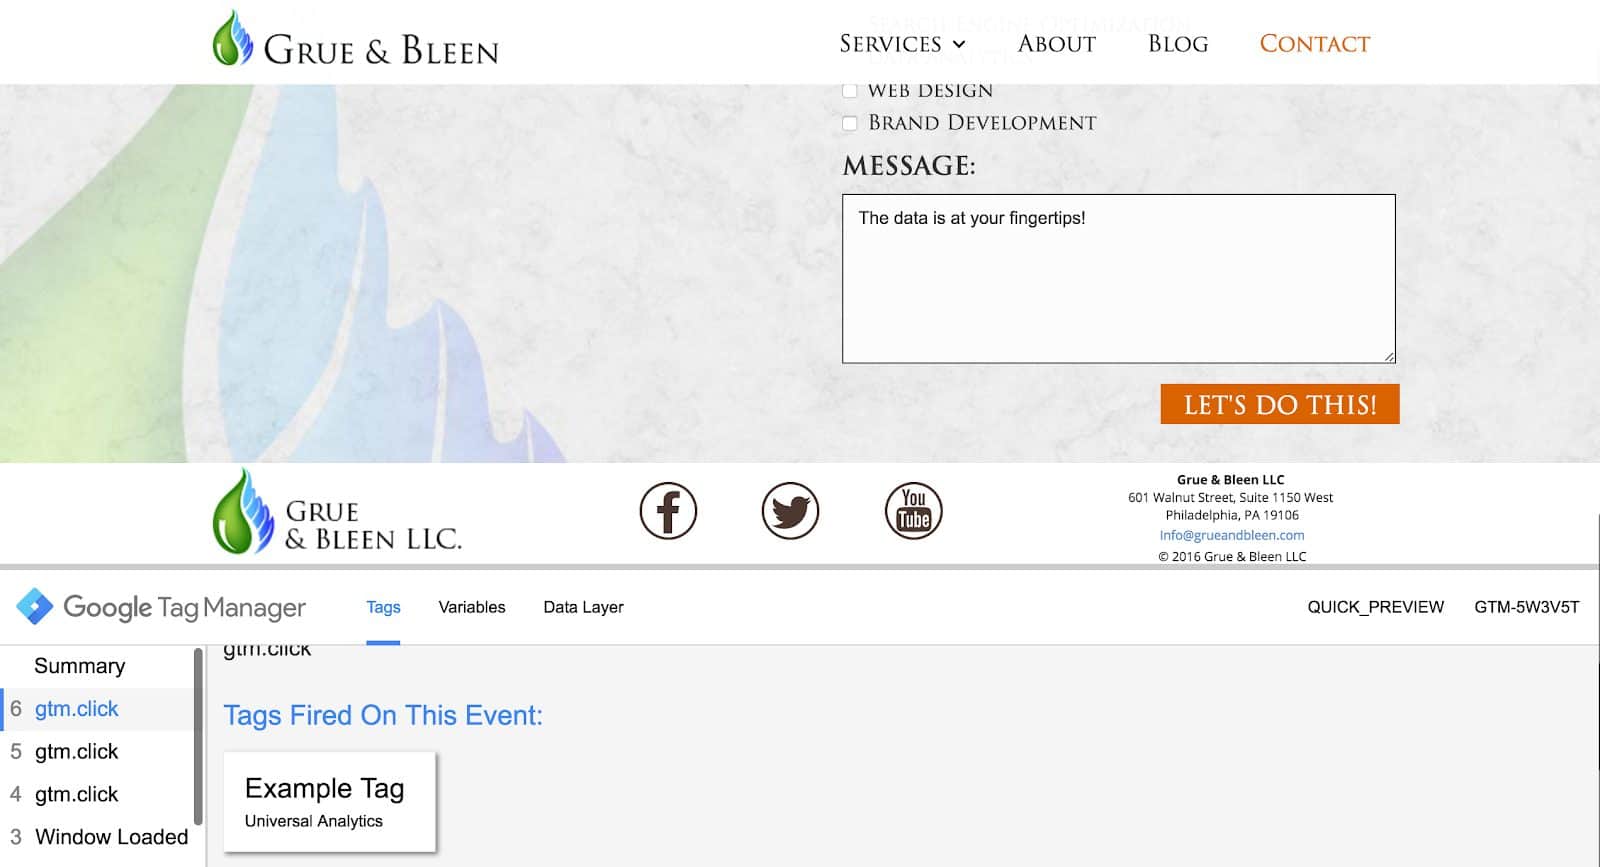
Check on the tag to make sure it’s sending the correct information:
Real Time Events in Google Analytics
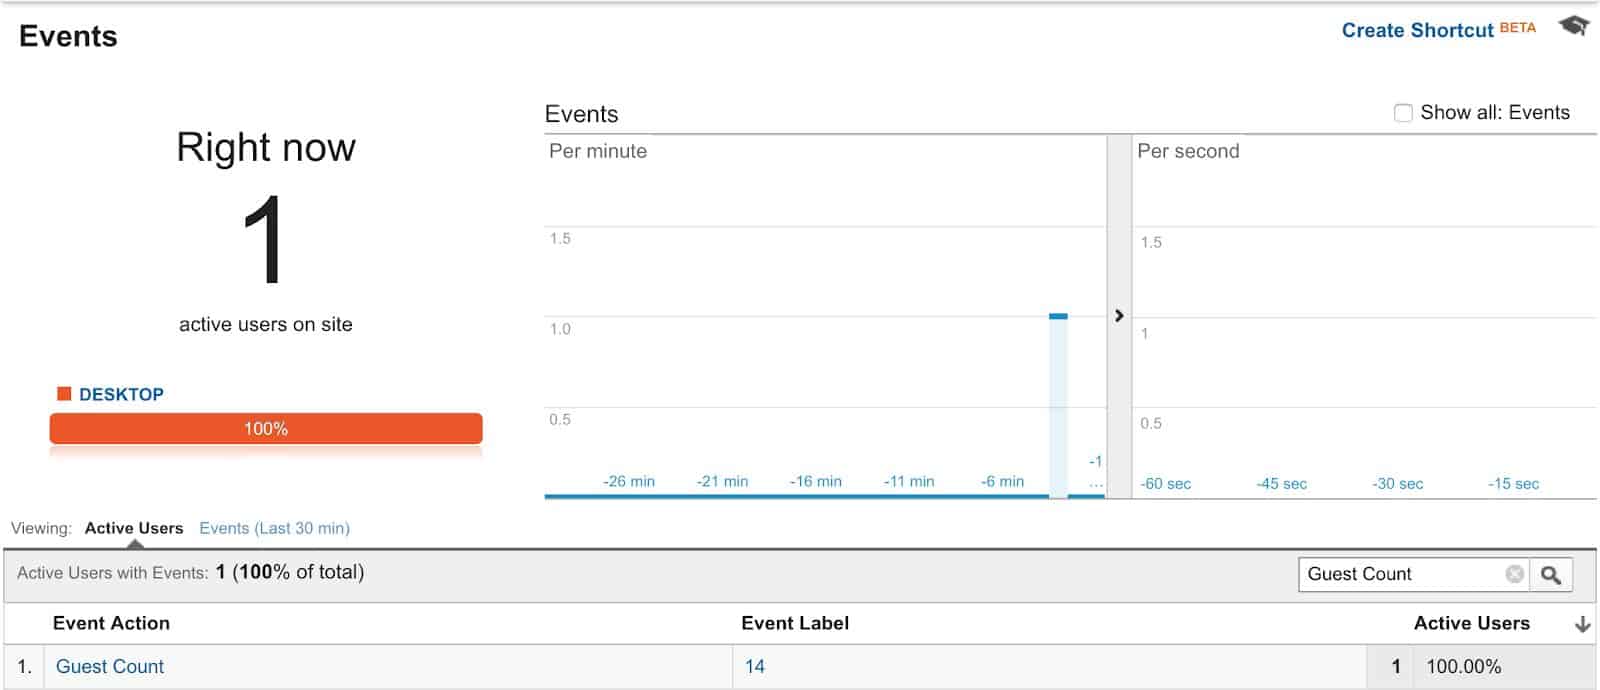
Now we want to make sure that the data is being pushed into Google Analytics. Hop on over to your Google Analytics real time interface. Select the Events tab and make sure the information is coming in correctly.
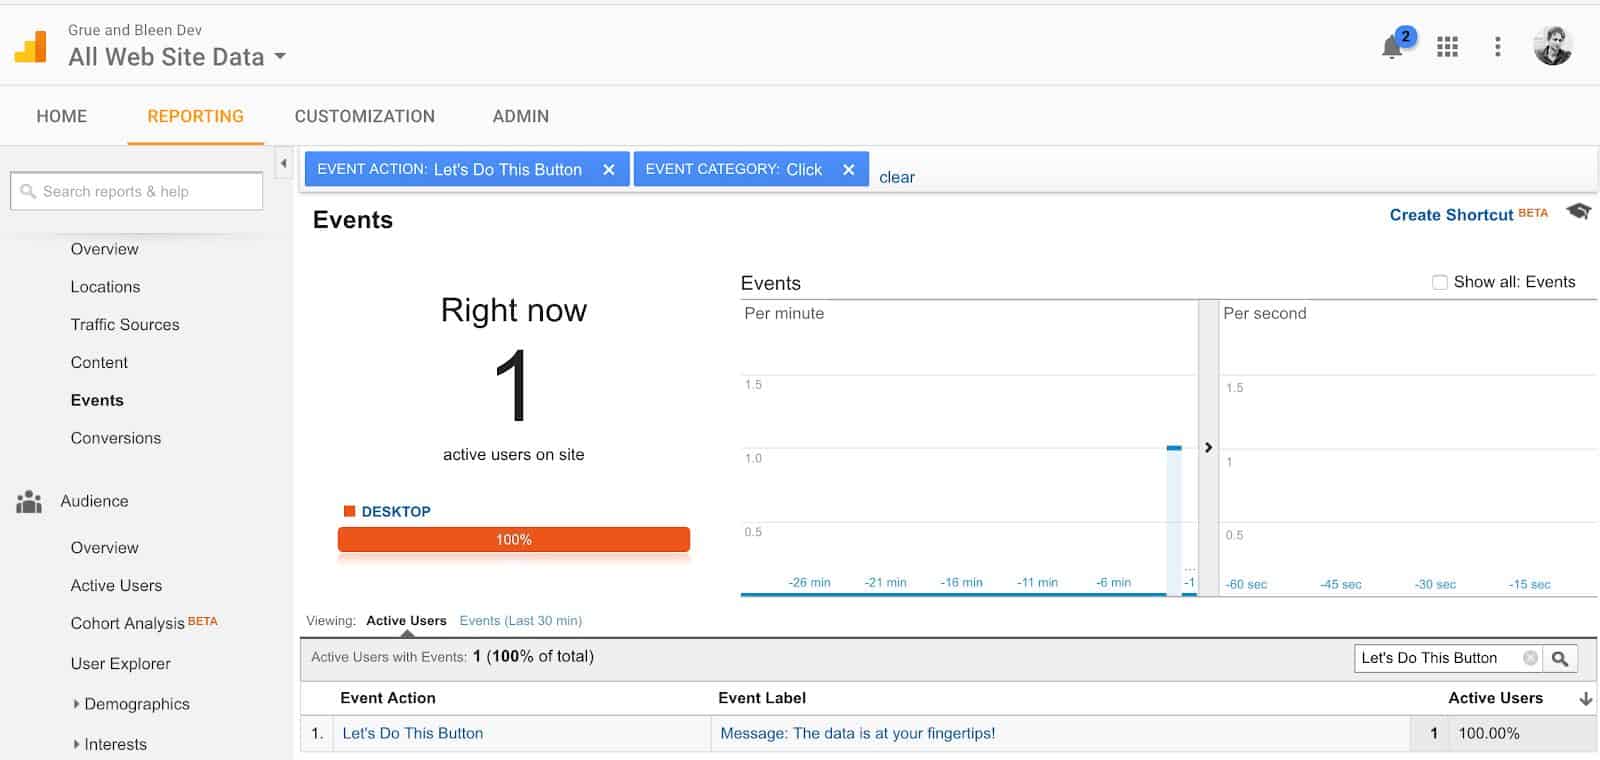
If everything goes as planned, you should now have awesome dynamic data pouring into your Google Analytics! (Just a quick reminder that you should avoid sending any personally identifying information using this extension, that means no emails, no names, no nonsense! For a complete guide on PII check out Google’s PII guidelines.)
Dropdown Selection Tracking with GTM dataLayer Sifter
The method above works exactly the same with dropdowns. Say the owner of Airbnb wants to track the number of traveling guests that airbnb users select. The drop down on the homepage allows users to select 1 through 20 guests, and we will use GTM dataLayer Sifter to find that dynamic selection.

Now, I don’t own the rights to the back end of Airbnb to be able to install Google Tag Manager, so for this we are going to use an awesome trick with another browser extension that I use almost daily: Tag Manager Injector. This inserts the Google Tag Manager of your choice onto your browser so you can test and debug any website of your choice! To read more about it and other extensions, check out our article, Chrome Extensions for Digital Marketing.
So now we are going to inject our dev Tag Manager onto airbnb to read the dataLayer, then select a guest value and click search. If you are following along and doing this live, you will need to cancel the page load in the browser bar (don’t close the browser itself!) to ensure it doesn’t load the new page. Now we are going to inspect the element of the guest selection with GTM dataLayer Sifter and go through the same process above.
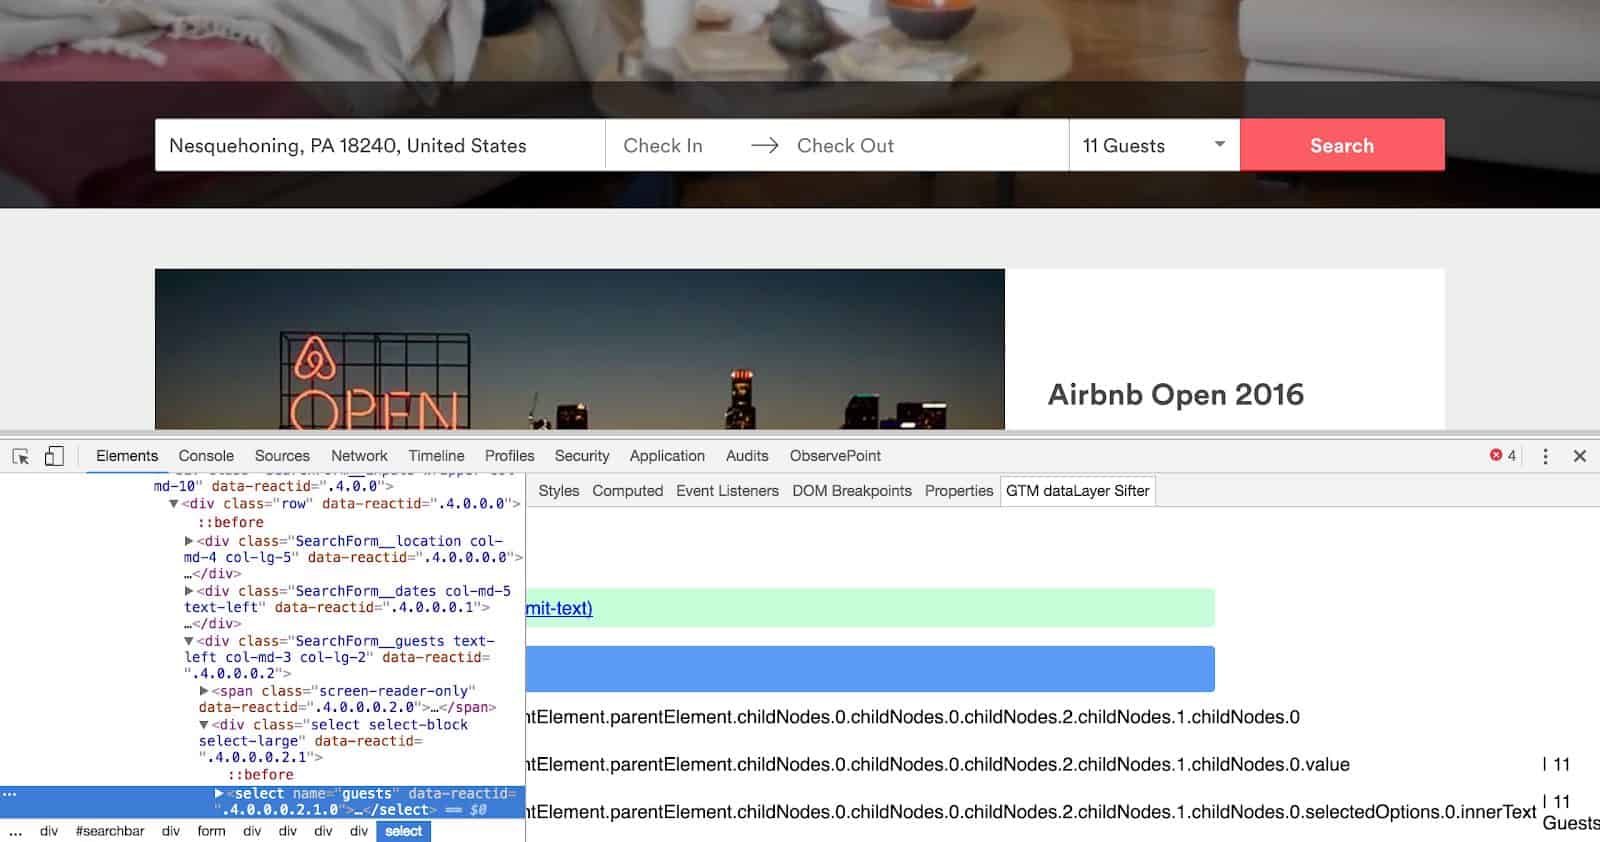
- Perform the desired action for which you’d like to find a value (Search, in the example above)
- While in GTM dataLayer Sifter, inspect the element of the dynamic variable you’d like to track (Guest Count Dropdown)
- Copy the path to the variable and paste it in GTM as a new User-Defined Data Layer Variable
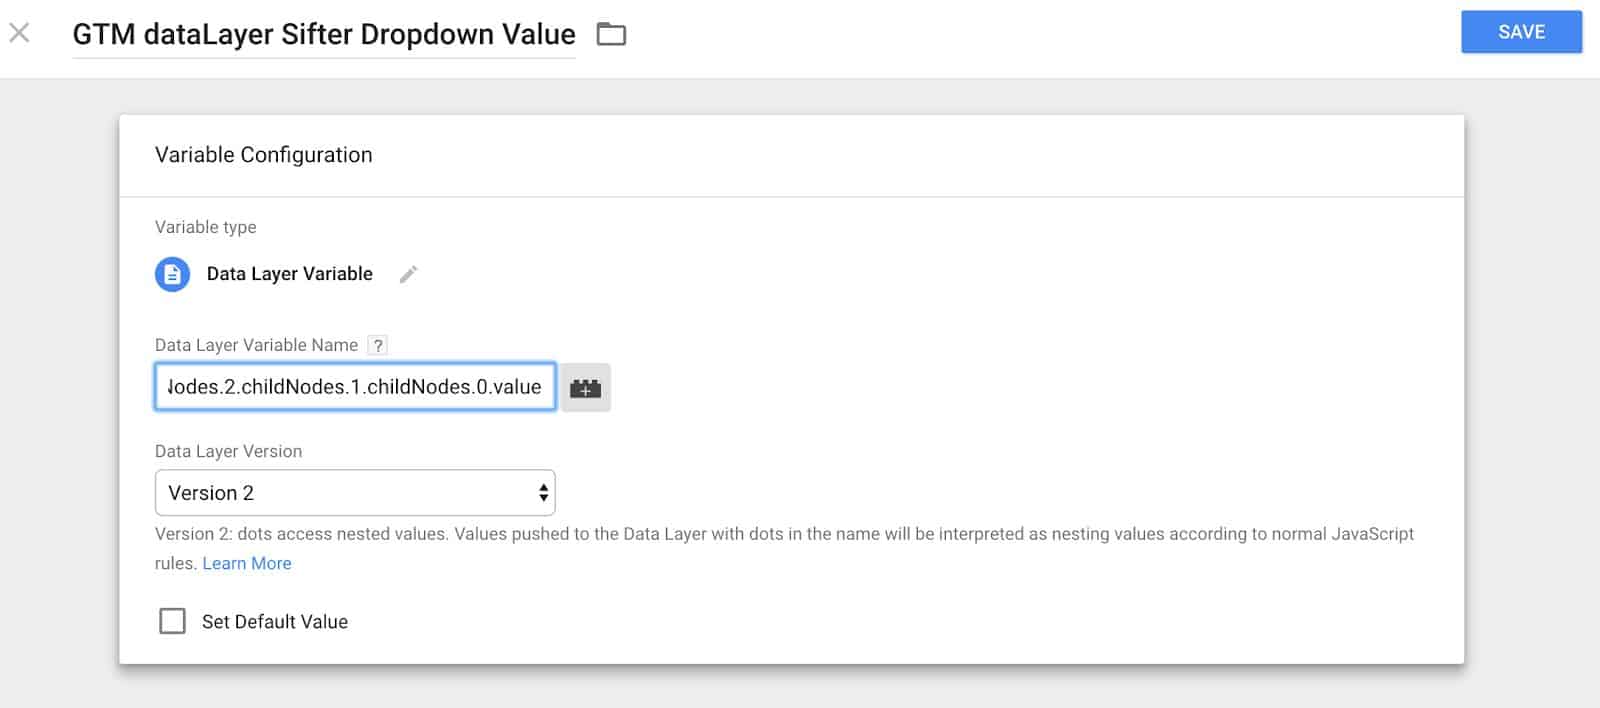
4. Send your dynamic variable to your data tracking system
Find More Data with GTM dataLayer Sifter
We have now explored how to find dynamic data for dropdowns and field values with GTM dataLayer Sifter. In the next article we will go into how to use GTM dataLayer Sifter with checkboxes and radio buttons. Remember, finding data is one thing, but how you use it is completely up to you! Let us know how you are using GTM dataLayer Sifter below in the comments section!

About Great Big Digital
Achieve your website goals with customized data, intuitive UX, and intentional design.


